

Using the Tyre Mobility Kit
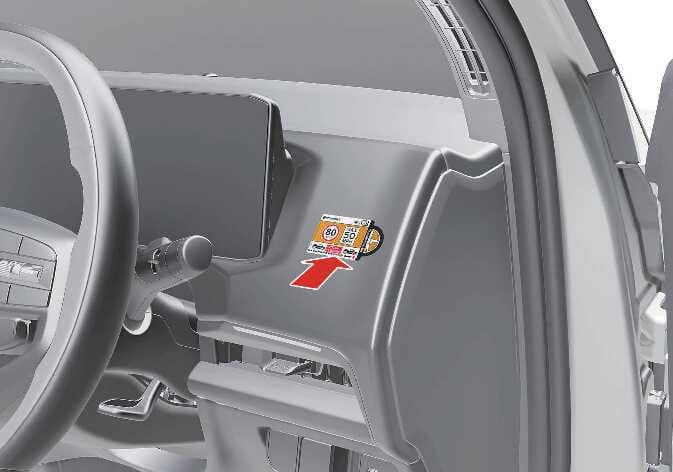
Detach the speed restriction label from the sealant bottle, and place it in a highly visible place inside the vehicle such as on the steering wheel to remind the driver not to drive too fast.
If only the tyre pressure needs to be adjusted, refer to Checking the tyre inflation pressure.
 N_QVe27_D11_029_ER |
-
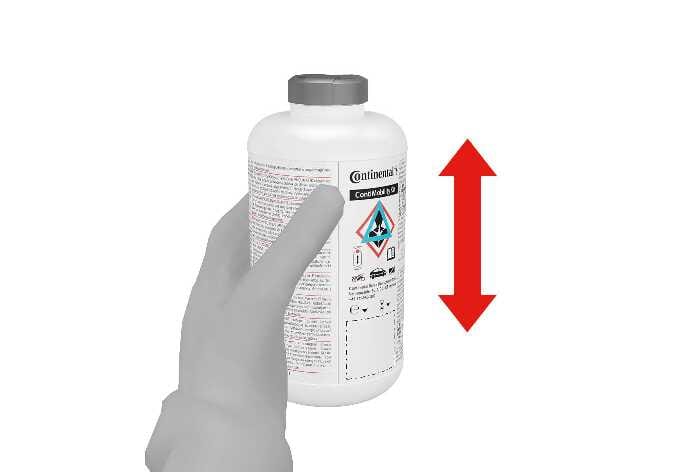
Shake the sealant bottle.
 N_QVe27_D11_008_E
-
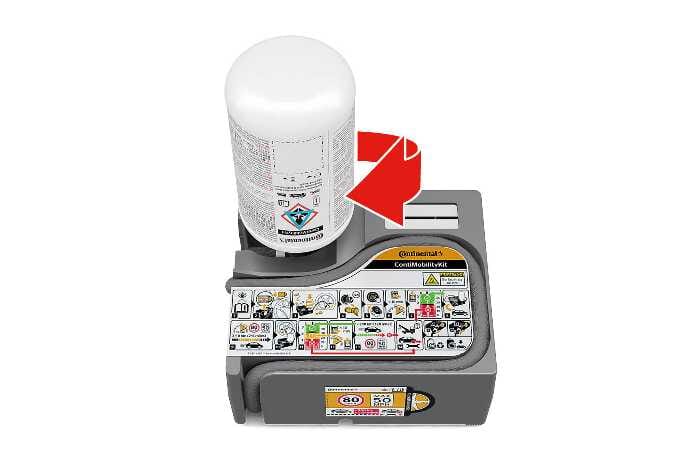
Remove the cap of the sealant bottle and screw the sealant bottle onto the sealant bottle holder.
 N_QVe27_D11_009_E
-
Ensure that valve on the compressor is locked.
-
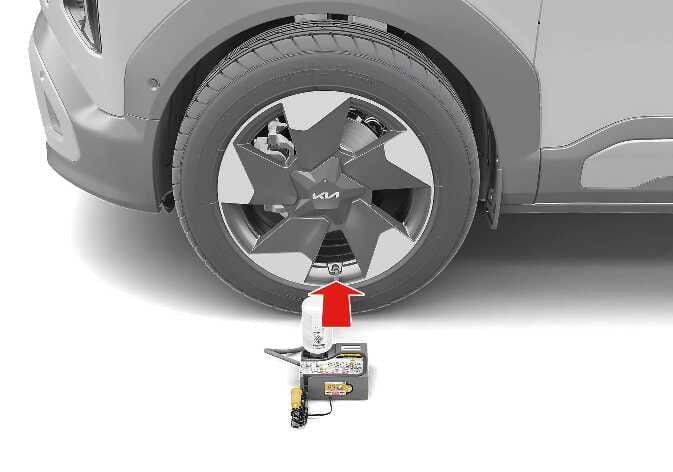
Unscrew the valve cap from the valve of the defective tyre and connect the compressor hose onto the tyre valve completely.
 N_QVe27_D11_010_E
-
Make sure the compressor is switched off.
NOTEMake sure the tyre inflation pressure adjustment valve is closed.
-
Connect between compressor and the vehicle power outlet using the cable and connectors.
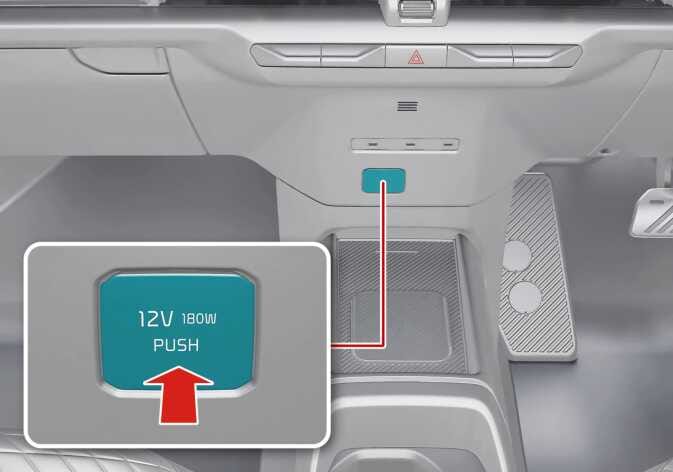 N_QVe27_C08_025_1_ER
-
Start the vehicle.
-
Switch on the compressor and let it run for approximately 5–7 minutes to fill the sealant up to proper pressure. (refer to Tyres and wheels). The inflation pressure of the tyre after filling is unimportant and will be checked/corrected later.
Be careful not to overinflate the tyre and stay away from the tyre when filling it. When the tyre and wheel are damaged, do not use Tyre Mobility Kit for your safety.
-
Switch off the compressor.
-
Detach the compressor hose from the tyre valve.
-
Return the TMK to its storage location in the vehicle.
-
If the tyre pressure is below 200 kPa (29 psi), do not drive the vehicle. It may cause accident.
-
Do not leave your vehicle running in a poorly ventilated area for extended periods of time. Carbon monoxide poisoning and suffocation can occur.
Securely install the sealant filling hose on the valve. If not, sealant may flow backward, possibly clogging the filling hose.