Checking tire inflation pressure

Operation
-
After injecting the sealant, drive the vehicle for approximately 7-10 km or about 10 minutes, and then park in a safe place.
-
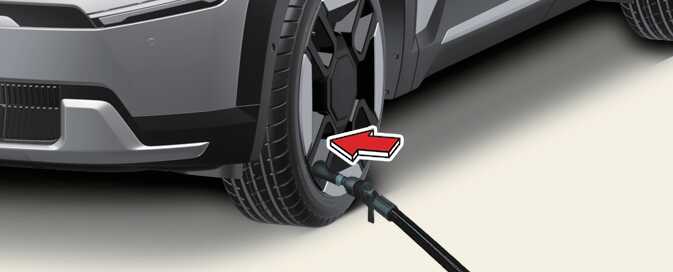
Connect the compressor and the tire connection hose directly to the tire valve.
-
Connect the 12V battery connector/cable to a 12V battery.
-
Refer to the "Tires and Wheels" section on page 8-3 or the "Vehicle certification label" and "Tire specification and pressure label" on page 8-6 to check the tire pressure and adjust it to the specified pressure.
-
To increase the tire pressure, turn on the compressor and adjust the pressure to the specified tire pressure.
-
To decrease the tire pressure, turn the tire pressure adjustment knob to adjust to the appropriate tire pressure.
-
To check the current tire pressure, temporarily turn off the compressor
-
Do not let the compressor run for more than 10 minutes, otherwise the device will overheat and may be damaged.
-
The tire pressure must meet the specified pressure (refer to the "Tires and Wheels" section on page 8-3). If not, immediately stop driving and visit an authorized Kia dealer/service partner or call for road side service or towing.
-
If the inflation pressure is not maintained, drive the vehicle a second time, refer to Distributing the sealant . Then repeat the steps.
-
The TMK may not cover tire punctures larger than approximately 4 mm. In this case, we recommend visiting an authorized Kia dealer/service partner.
-
We recommend that you contact a professional workshop if the tire cannot be made roadworthy with the Tire Mobility Kit.
When reinstalling the repaired or replaced tire and wheel on the vehicle, tighten the wheel lug nut to 11~13 kgf·m (79~94 lbf·ft).
