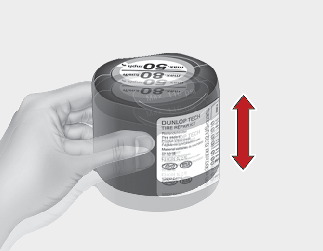
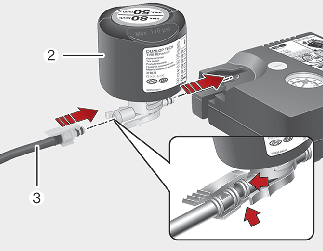
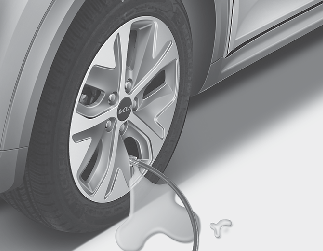
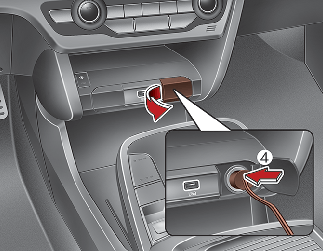
Using the Tire Mobility Kit
Carefully follow below steps.
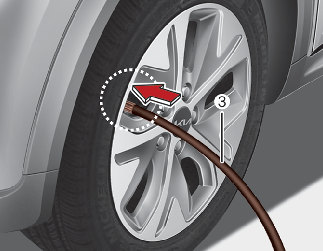

If a visable foreign object has punctured the tire, do not remove it before using Tire Mobility Kit.
If the sealant is injected when the tire air pressure injection valve and sealant injection hose are not fully interlocked, the sealant may overflow and clog the valve.

Tire pressure
Do not attempt to drive your vehicle if the tire pressure is below 200 kPa (29 psi). This could result in an accident due to sudden tire failure.
Carbon monoxide
Carbon monoxide poisoning and suffocation is possible if the vehicle is left running in a poorly ventilated or unventilated location (such as inside a building).