Trickle charging
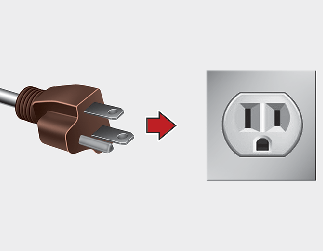

If the outlet is aged, damaged or cracked, do not use it.
However, charge the battery only when the shift gear is placed in P for safety reasons.
* Make sure that the plug is not loosely put into the outlet. (If it is loose, it may generate heat.)
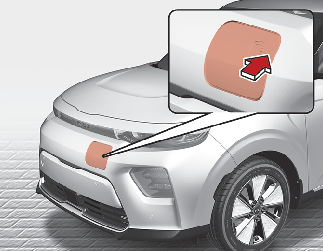
If you cannot open the charging door due to freezing weather, tap lightly or remove any ice near the charging door. Do not try to forcibly open the charging door. The charging door may be broken if it is forcibly opened.
In order to connect the charging connector, unlock the vehicle's doors to unlatch the charging connector lock system.
If not, the charging connector and the vehicle's charging inlet may be damaged.

The charging door will unlock when Driver's door is unlocked.
To unlock charging door:
-
Press the unlock button on your smart key
-
Press the Central Door unlock button on armrest trim of driver's door
-
Pull the driver's inside door handle outward
The charging door will lock when all doors are locked
To lock charging door:
-
Press the lock button on your smart key
-
Press the Central Door lock button on armrest trim of driver's door
* All doors will automatically lock after the vehicle speed exceeds 15 km/h (9.3 mph). Charging door is also locked when vehicle speed exceeds 15 km/h (9.3 mph).

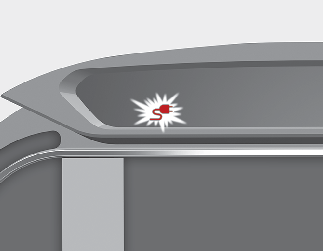
Charging starts automatically and the charging indicator lamp starts to blink.
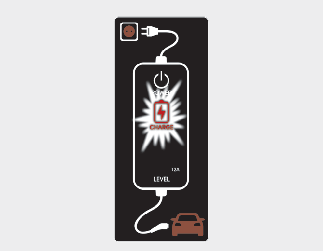
If the charging connector and charging terminal are not connected properly, this may cause a fire.
* Charging Connector Always / While charging / Do not lock Mode
When the charging connector and the charging inlet are connected, you can choose the mode at the USM. The charging connector will be locked at a different time depending on the selected mode.
-
Always Mode: When the charging connector is properly connected, the charging connector will be automatically locked.
-
While charging Mode: When the charging connector is properly connected and charging is initiated, the charging connector will be locked, & will unlock when charging has completed.
-
Do not lock Mode: he locking device for charging inlet is kept unlocked regardless of charging status.
For more information, refer to the More Details.
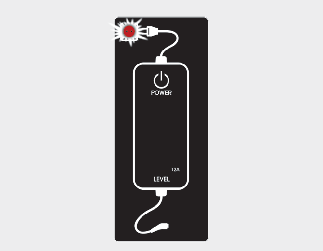
Charging does not occur when the charging indicator lamp is OFF.
When the charging connector is not connected properly, reconnect the charging cable to charge it again.
-
You can start charging when the START/STOP button is in the OFF position and the shift gear is in P (Park).
After charging has started, you can use electrical components such as the radio by pressing the START/STOP button to ACC or ON position.
-
If you move the shift gear from P (Park) to R (Reverse), N (Neutral), D (Drive), charging stops immediately. If you want to start charging again, place the shift gear to P (Park) and press the START/STOP button to the OFF position. Unplug and reconnect the charging cable to start charging again.
-
During charging, you cannot move the shift gear from P (parking) to other positions.
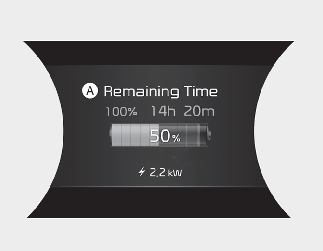
A: Remaining Time
* The remaining charging time in the LCD image may differ from actual charging time.
If you open the driver door while charging, the estimated charging time is also displayed on the instrument cluster for about 1 minute.
When reserved charging is set, the estimated charging time is displayed as "--".
Depending on the condition and durability of the high voltage battery, charger specifications, and ambient temperature, the time required for charging the battery may vary.
In order to disconnect the charging connector, release the door lock to unlatch the charging connector lock system.
If not, the charging connector and the vehicle's charging inlet may be damaged.